Introduction
What is a Split Screen and what is it used for?
The Split Screen is an audiovisual output display where the screen has been divided into two or more exactly equal areas so that players can explore different areas simultaneously without having to be close to each other.
Here’s an example of F1 2021 Split Screen for two players:

Why is it important to have a Split Screen?
The Split Screen feature is commonly used in non-networked multiplayer video games, also known as couch co-op, and allows multiple people to play on a single device.
Here’s an exmple of Mario Kart 8 Deluxe Split Screen for four players:

Context and History
The Split Screen gaming is said to have originated in the mid 1980’s, when early home consoles like the Atari 2600 and the Intellivision featured games that could be played by two players on the same screen:

Bloodwych (1989)

Lotus Esprit Turbo Challenge (1990)
When Lemming was released for Commodore’s Amiga (1991), it was the first Amiga game to support two simultaneous players with a Split Screen on the same computer while players used separate mice. However Split Screen gaming wasn’t popularized until GoldenEye 007 in 1997, allowing players to take place in a four person deathmatch on the same screen:

Lemming (1991)

GoldenEye 007 (1997)
Continued in 2001 with Halo: Combat Evolved on the XBOX, leading other shooters to pick up the trend, such as Gears of War and Call of Duty:

Halo: Combat Evolved (2001)

Call of Duty 2 (2005)
Current references
Currently in the industry, we can observe recent games that use Split Screen. Here are some videos that show current examples:
Rocket League (2015)
It Takes Two (2021)
Current State
Technical evolution of the Split Screen
The Split Screen technique has historically been very popular on consoles, which until the 2000s did not have access to the internet or any other network. However, it is less commmon today with modern support for console-to-console online multiplayer.
The Split Screen is useful for those who want to play with other players, but with only one console. In recent years, this has not been used very often because the new frontier of video games is to play with other players online, without sharing a screen.
Current techniques in the industry
Standard Split Screen
By standard split screen we mean the common split screen, where the regions are divided equally for all players.
Here you can see an example of the Sonic & All-Stars Racing Transformed Collection Split Screen:

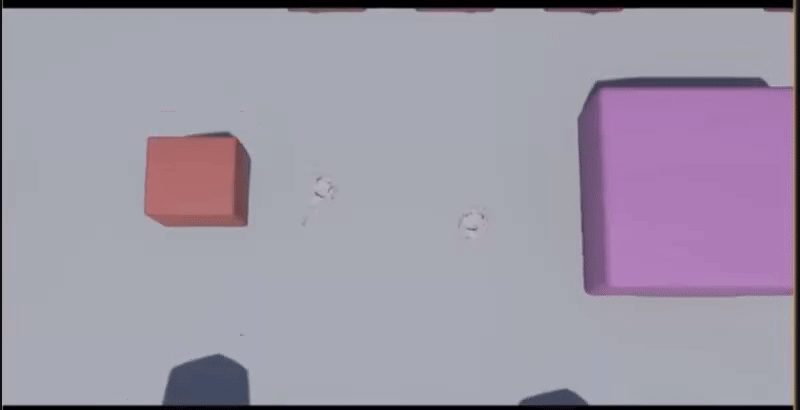
Voronoi Split Screen
The Voronoi Split Screen is a variant of the Standard Split Screen. This effect divides the screen into multiple regions based on the proximity between the players or to different objects or points of interest in the game world. It is often used in coop multiplayer games to provide a more immersive and engaging gaming experience, as well as a more stylish version of the casual Split Screen.
You can see an example of this type of Split Screen in the .gif below:
And here you can see an example of a game that uses this technique, Lego Batman 3: Beyond Gotham Split Screen:

Split Screen in other game engines
In this section we can find several videos on how to add a Split Screen to our games in other game engines, such as Unity, Unreal and Godot:
Unity
Unreal
Godot
If you spend some time watching the videos, you will realise that it is relatively easy to make a Split Screen in the current game engines on the market. However, in SDL this is a bit more complicated.
Selected Approach
Basic concepts
Window
The Window is a separate viewing area on a computer display screen as part of a GUI.
Render
To Render is the process that turns the code you write on an application into something visible and/or interactive on screen.
Renderer
The Renderer is the piece of code that turns code instructions into an interactive rendering context.
Camera
The Camera designates the point of view that the players will have presented on their screens.
Viewport
The Viewport is a region of the screen used to display a portion of the total image to be shown.
¿Renderer vs Camera vs Viewport?
The difference between renderer, camera and viewport is that the renderer is the part of the code that renders the developer’s input to the screen, while the camera is a rectangular region delimited by the developer that serves as a magnifying glass to observe the rendered content, and the viewport is the region of the window where the camera can be moved and objects can be rendered.
How could we theoretically code a Split Screen?
Theoretically, to code a Split Screen, it would be enough to multiply the number of elements on screen by the number of cameras needed, and then rearrange the cameras to show them equally on screen.

But in SDL2, it is not so easy…
In SDL2 we have to look for another way
We can’t create multiple renderers.
We can’t create multiple cameras.
We can’t create multiple viewports.
At least, we can’t create multiple elements directly, by simply declaring them. We have to take into account that SDL only supports 1 renderer, and multiple cameras and viewports can be supported, but only if we code them with classes and several reusable functions.
Then, how can we program a Split Screen in SDL2?
New features
In order to create my implementation of the Split Screen, I have added the following features to the code:
- New Camera Class

- New Players

- New Map

Affected modules
- Camera → The camera attribute is now a class.
- Player → Multiple players with different input.
- Scene → The scene will split in n screens.
- Render → Manage multiple viewports and cameras.
New functions
- Render.cpp

- Scene.cpp

- Player.cpp

Steps to follow
The overall steps to code a Split Screen in SDL2 are shown below:
- Create the cameras and add them to a list.
- Relate the different players with the cameras.
- Assign and center the cameras to the players.
- Finally, display the desired cameras.
Here you can find the location of the TODOs inside the code:

Split Screen Handout & Solution
All the material provided (handout, solution and presentation) can be downloaded by clicking this link:
Download Provided Material
TODO 1 → [Render.cpp]
“Create cameras according to a viewport”
- First create a Camera* with the viewport defined
- Then add the camera to the cameras list
- Don’t forget to clear the cameras list

TODO 2 → [Player.cpp]
“Manage players movement and camera”
- Read the parameters from config.xml
- Then use the function HandleInput to manage the camera-player-input relation


TODO 3 → [Scene.cpp]
“Instantiate the players in the scene”
- Read the config.xml and retrieve all the player nodes
- Then you have to CreateEntity of each player
- Don’t forget to add them to the players list

TODO 4 → [Render.cpp]
“Get the viewport of each active camera”
- You need a loop to go through the list of cameras
- For each camera, state renderer and viewport
- You can retrieve the viewport of the cameras

TODO 5 → [Render.cpp]
“Center each active camera to a player”
- Very similar loop to TODO 4
- But now the loop has two iterators
- You have to increment it after each iteration

TODO 6 → [Scene.cpp]
“Create all the necessary cameras”
- Check the function CreateCameras
- Check the enum class DisplayType

Results
One Screen

Two Screens (Vertical)

Two Screens (Horizontal)

Three Screens (Align Left)

Three Screens (Align Center)

Three Screens (Align Right)

Four Screens

Possible Improvements
Problems of this implementation in SDL2
- The number of screens and their position are hardcoded, so to increase the number of screens shown in the window, it would have to be done manually.
- Four players appear regardless of the number of cameras. This is because the cameras are created first and then the players are instantiated, but by doing it with XML you do not know in advance how many cameras there will be.
- There’s a little visual bug on the edges of the cameras if you pay attention to it.
Features you could add to your Split Screen
- Ability to change screen display mode mid-game.
- Render line, circle and text taking into account viewport margins.
- An algorithm that makes n screens for n players.
- …
Conclusions
Advantages of the Split Screen
- Players can see where the other players are.
- Only one console needed.
- Only one copy of the game needed.
- There’s no need for internet access.
- There’s no internet connection problems.
Disadvantages of the Split Screen
- Screens are smaller and make visibility more difficult.
- Rendering more screens causes several performance issues.
- More distraction, especially from game sounds.
- Lower active resolution for each player.
References
This section gathers all the references used during the development of the research:
Articles
- Visión general de F1 2021
- Wikipedia - Pantalla dividida
- Ultimate Pop Culture Wiki - Split screen (video games)
- Split-Screen: Videogame History through Local Multiplayer Design
- Game Developer - Shared-Multi-Split Screen Design
- Voronoi split screen: A Quick Tour
Videos
- Rocket League - Splitscreen Multiplayer Gameplay Trailer
- It Takes Two – Official Gameplay Trailer
- How To Create A Split Screen In Unity
- UE4 Split Screen
- UE4 - Tutorial - Local Splitscreen!
- How to Easily Add Split Screen Multiplayer in Godot
- Voronoi Split Screen System